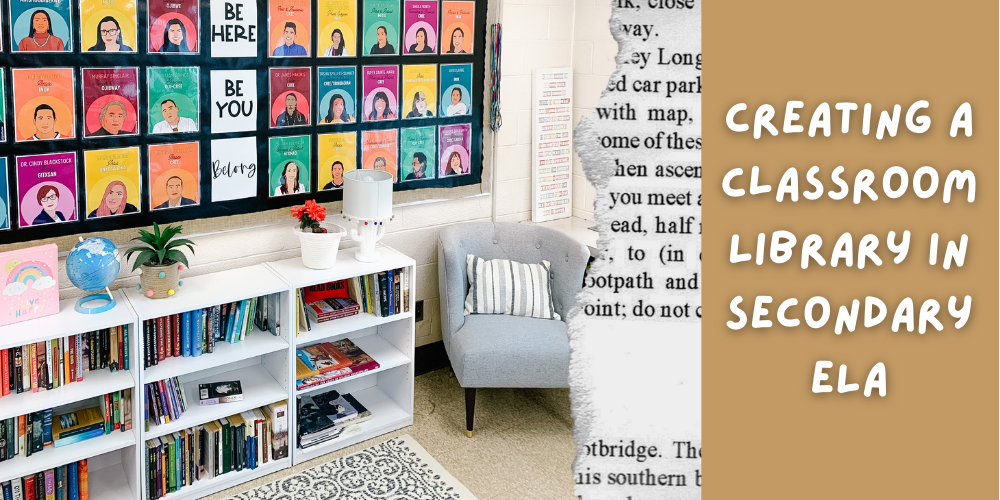
Creating a Classroom Library in Secondary ELA
Sharing is caring!
My school is fortunate enough to have a school library, which I’ve taken my classes to whenever independent reading material was needed, but there was always the thought in the back of my head that I needed to do more to promote reading and celebrate books within my classroom.
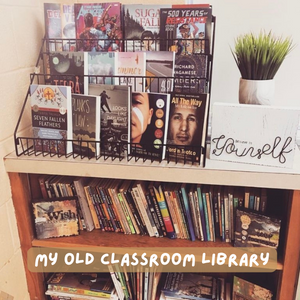
My classroom library up until this year consisted of one section of built-in shelves and a metal book rack. It was okay, but it was definitely not #classroomlibrarygoals. On top of it being quite small, it wasn’t curated at all, it was mainly just a place to put all of the books I had accumulated over the years.
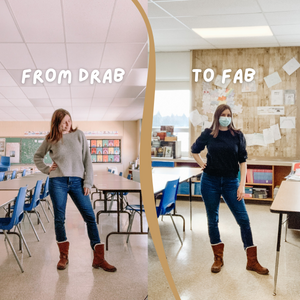
If you ever check out teacher Instagram pages, you’ll find plenty of amazing classroom library set-ups. Normally, I try not to compare myself to other teachers on social media, but when that comparison can fuel your inspiration to be the best version of your teacher-self, then it can be healthy and rewarding. After the last few years of remote teaching, and a maternity leave before that, I was definitely missing my classroom and wanted to create all the spaces within it that I’ve imagined over the years but never fully executed.
For weeks leading up to my return to in-person teaching this semester, I became obsessed with creating the classroom library of my dreams. Having an Instagram worthy space is nice, sure, but my motivation was imagining how this space would inspire my students to read and to make a statement that reading is valued in my classroom. I also strongly believe that when you spend the majority of your day in the same room, it is okay to invest in it and make it comfortable and homey for you and your students. I want to show my students that they are worth the effort of creating a safe, inviting, inclusive space
Step 1: Set the Scene
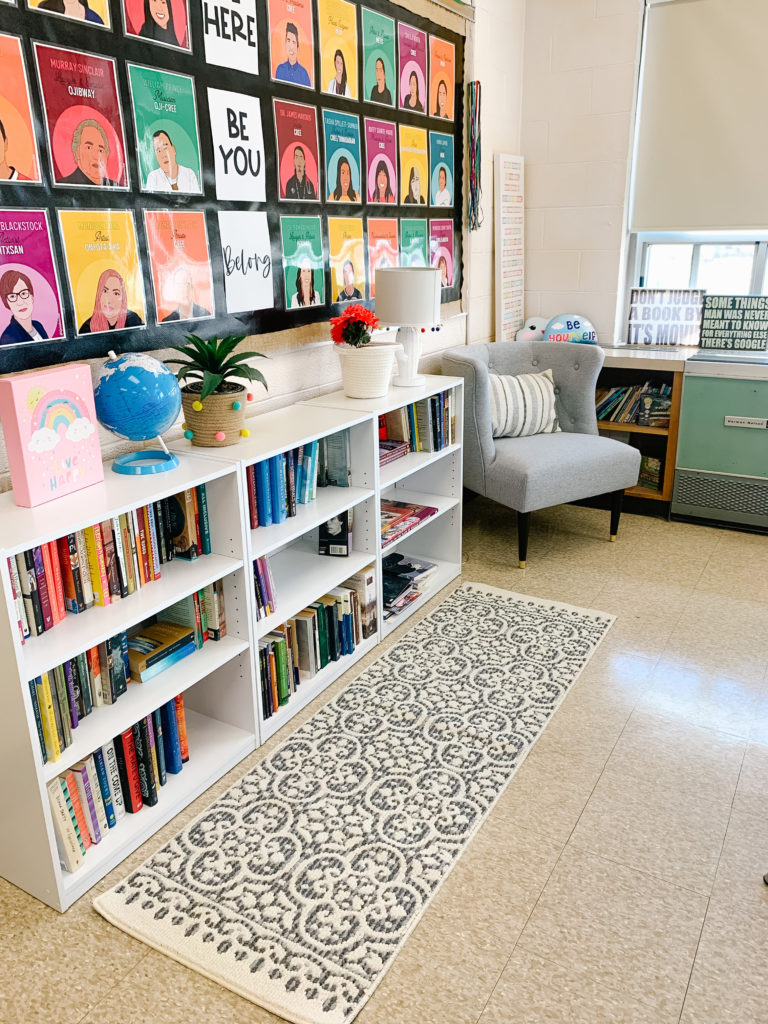
My first step before I could create a library space was to spruce up the area of my classroom that this area would inhabit. If you’re like me, working in a 60+ year old building, there are a lot of things that need some TLC. The biggest thing that bothered me was the dingy yellow colour on the walls. This is my 15th year of teaching and I always felt like asking for my room to be painted was unnecessary or frivolous on the endless to-do list that our maintenance department deals with. I finally decided to ask my principal if it was possible to have my room painted white, and her response was an immediate, enthusiastic, “sure!” Once the room was painted, I was so glad I took this step. The clean white walls made a huge difference in the energy of the room, and many of my colleagues commented on how they didn’t realize how awful the yellow was until seeing the new, white walls. It truly set the best canvas for all the magical classroom spaces to come.
Step 2: Creating the Library Space
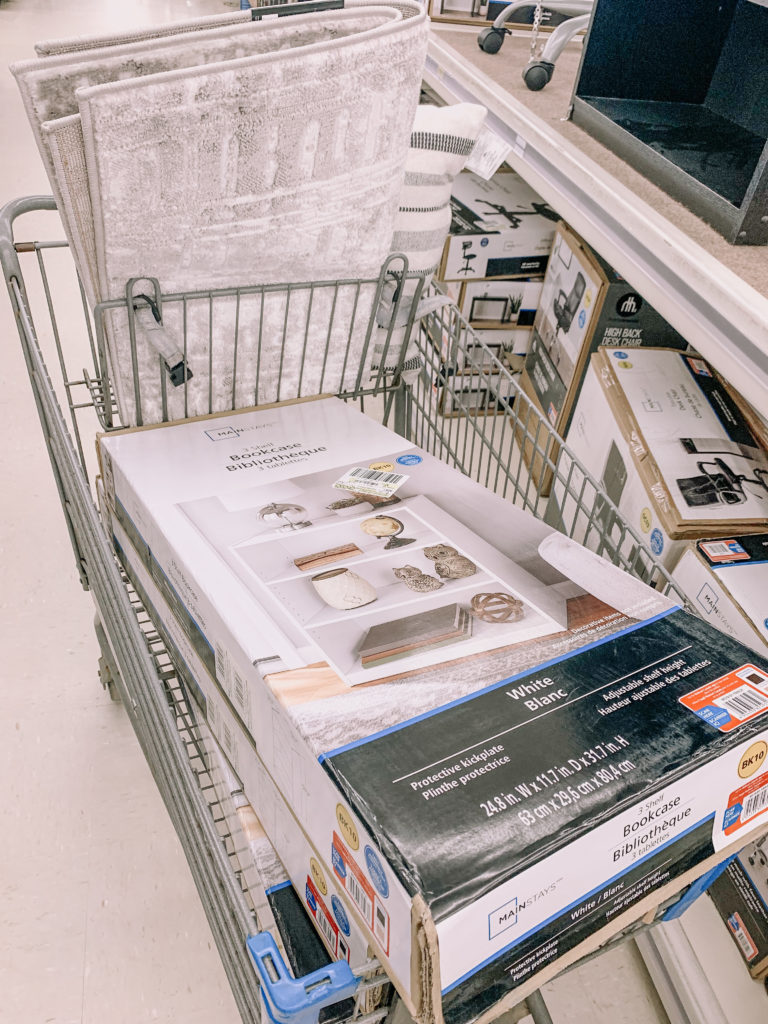
After keeping my eye on Facebook Marketplace and checking the thrift shops in town, I decided that if I was going to be truly happy with this space for years to come, that I would need to invest in exactly what I wanted. I ended up buying three 3-tier white shelves from Walmart for under thirty dollars each. I also bought a skinny area rug from Walmart to help designate the floor space to the library shelves. My next purchase was a cozy chair to put in the corner to anchor the space and act as an inviting element to the library. Like the shelves, I couldn’t find exactly what I had envisioned on Facebook Marketplace, thrift stores or yard sales, so I used a couple of gift cards I had accumulated and bought the perfect barrel chair from Homesense.
Although I sought out the best deals and used gift cards in an effort to lower the costs as much as I could, I know that not everyone is at a place in their life where this is possible. If you are reading this and know that you don’t have the means to invest in your classroom this way, there are many budget friendly options like the ones mentioned above and you can also find a crafty friend who can help you DIY pieces to be exactly how you want.
Step 3: Getting Books on the Shelves
Now that I had this beautiful new space ready for books to adorn it, what was my plan for actually getting those books? As of right now, I think I have around 100 books and the majority of them are my own that I’ve brought from home. Luckily, I used to be quite a reader in my university days and twenties. Many of the books I had to buy for my University English degree were YA or general fiction books and since then I’ve added to the collection every visit to the bookstore. I had always wanted a beautiful curated bookshelf in my home office and I was well on my way, until I had my second son, and my office became his bedroom – and all of my books ended up in tupperware bins in the basement. As sad as this tale is to any book-lover, I think it all worked out for the best, because now these books are living their best lives in my classroom!
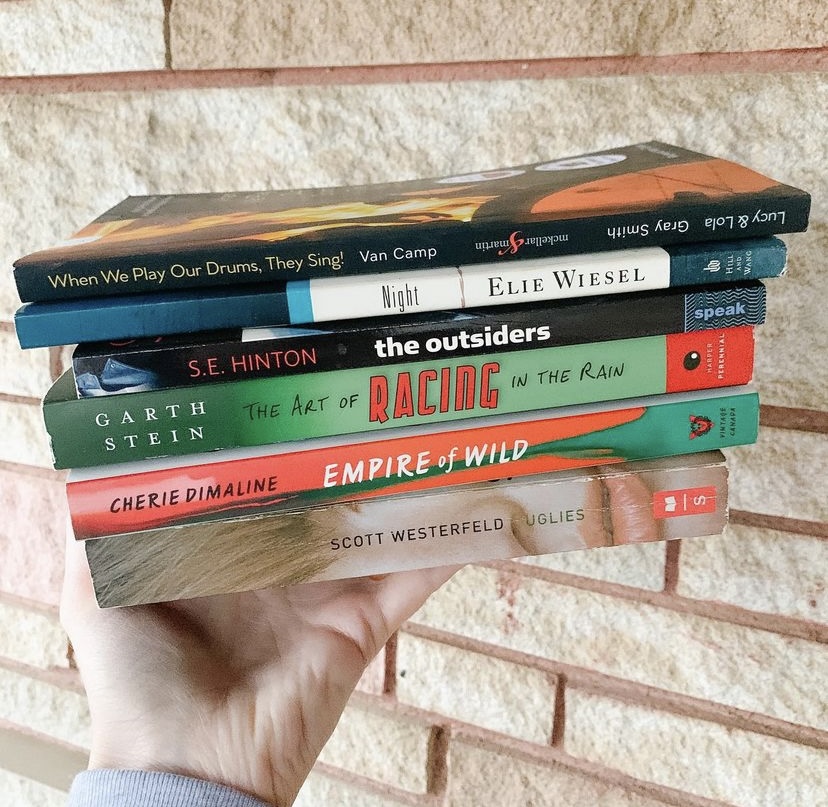
My other additions to the shelves lately have come from thrift stores. With each book haul from Value Village I was able to grab 6-7 books for the price of one new one. There are plenty of great YA and student-friendly reads waiting for you to pick them up!
Other sources of books that I plan to check out include yard sales, and libraries as they sell off older books quarterly or annually to make room for new ones. I also plan to make a post on my social media to my friends and family letting them know that I will happily take any book donations for my classroom.
Step 4: Organizing the Library
With all of these books starting to fill up my shelves, I had to determine how I wanted them to be organized and implement a check out system for students. While it would be easier to organize the books alphabetically, I decided to organize by genre as I feel this will help encourage students to find their next books based on interest. If I wasn’t sure which genre a book was, I read the blurb on the back to determine where it should go, or in some cases Googled the book to get a better idea of where it belonged.
My next steps are to create classroom library genre labels for the shelves, as well as book labels with the genre listed on the spine. Once that is done, my check out system will be a spreadsheet to record which book a student borrows, the date, and due-date. More on this to come in a future post I hope!
Step 5: Promoting Reading in the Classroom
I love that the shelves I purchased have a decent amount of top space for displaying items and highlighting specific books. I plan to use this space as a spotlight for specific books each month depending on the different themes in the calendar, for example Women’s History Month, Truth and Reconciliation Day, and so on.
Other ways I plan to promote reading in my classroom is to ask students to suggest books to their peers and display these suggestions in the library area.
I’m sure I will find other ways to promote and celebrate reading as the next school year progresses, and I can’t wait to share all the updates with you!
Happy Reading!
Leave a Reply Cancel reply
© Mochas and markbooks 2025 | Template by Waymaker Designs |
[…] school year, Katie from Mochas and Markbooks decided to revamp her classroom library from a small corner metal book rack to a designated reading […]